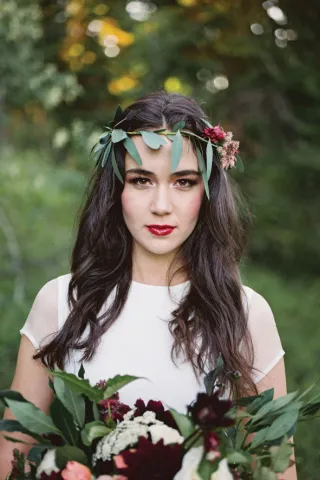
Especially darling for vintage ceremonies or brides leaning towards that country-vibe, the circlet braid is most certainly a crowd-pleaser. Pull it tight for an elegant feel, or loosen it up a bit for a laid-back look. We love that it simulates a crown when finished and lands asymmetrically on the shoulder for regal straight-on photos.
We've narrowed down the nine steps it takes to create this old-world french braid with descriptions below. (If you're anything like us, you might need to brush up on your braiding skills, but as we're sure you've heard before, practice makes perfect.):

1. Begin a French braid at the top of the head, starting from a side part.
2. Keep it close to the edge of the hairline, as close to the face as possible.
3. When the braid reaches the ear, turn it 180 degrees so it’s headed back to the other side of the head.
4. Continue adding hair to the French braid, but only on the upper side--the side closest to the first line of braiding.
5. Keep pulling the braid up toward the first braid, so that there is no more than an inch between the two.
6. When the braid reaches the ear, turn the braid around again and continue braiding back in the opposite direction toward the other ear.
7. Remember: only add hair to the upper side of the braid, the one closest to the other two rows of braiding.
8. Turn the braid a final time, adding in all remaining hair.
9. Braid the hair down to desired length and secure it with a hair-tie or ribbon.
Tip: Use bobby pins to keep any escaped locks tucked in, especially around the turns.
Final thought: Curl the ends of the hair to dress up the look and cover the hair elastic in a ribbon to match the groom’s tie.
Tutorial demonstrated by Whitney Garrett, photography by Hannah Letinich